A ferret is a wonderful drawing subject because its small rounded head, curious eyes and long flexible body create an instantly playful character. This lesson explains how to draw a ferret in twelve cumulative pencil stages. We draw one seated animal in a three-quarter view, keeping its ears, face, paws and tail in the same places while the picture develops. Start with gentle construction shapes, establish the important contours, then build soft fur and a warm sable-colored coat. You do not need to copy every hair. A convincing silhouette and a friendly expression matter much more than hundreds of tiny marks. Work slowly, compare each stage with the previous drawing and enjoy making the animal your own.
What you need for this ferret drawing
Choose a regular graphite pencil, a soft eraser and a sheet of warm white or cream paper. An HB pencil works for the guides; a softer pencil can deepen small shadows, but one ordinary pencil is enough. Colored pencils are optional for the final two stages. Keep a clean scrap sheet under your drawing hand to reduce smudging. Use light pressure for planning, medium pressure for selected contours and stronger pressure only for small dark details. An adult can help younger children prepare a sharp pencil safely. Do not worry about finishing quickly: pause after the guide shapes and again before adding texture. These checks prevent small placement mistakes from becoming difficult corrections later.
Understand the ferret anatomy
Ferrets belong to the mustelid family; they are not rodents. For drawing purposes, their most useful features are an elongated trunk, a fairly long neck, short legs, rounded ears and a substantial furry tail. Our seated pose compresses the flexible body into a rounded shape, but the upright chest should still feel longer than a hamster's. The head sits above and slightly forward of the shoulders rather than directly on a ball-shaped body. Notice how the far ear and far eye appear narrower in a three-quarter view. The near eye is larger because more of that side of the face is visible, not because the animal has mismatched eyes. Sable ferrets often have darker facial markings, but coat patterns vary. Keep the muzzle and throat light in this version so the nose, smile and chest remain easy to read. A ferret's tail is furry, not a thin bare rat tail.
Follow the 12 cumulative drawing steps
Step 1: Place the body oval
Draw a broad oval slightly below the middle of your page, leaving generous room above it for the long neck and head. The lower edge will eventually sit just above the paws. Keep your pressure light enough that the cream paper shows through the graphite. This first shape is a planning tool rather than the finished body outline. Check that there is also space on the right for the thick tail to curl forward along the ground. Do not shade or add legs yet.

Step 2: Add the overlapping head guide
Place a smaller round head guide above and to the left of the body oval. Allow a small overlap in the overall neck area rather than pushing the head into the middle of the body. Compare the two shapes before proceeding: the head should feel round and cute while the lower oval remains large enough for a seated animal. The head is turned slightly toward us. Keep both guides visible; they will help place the same animal consistently through all later stages.
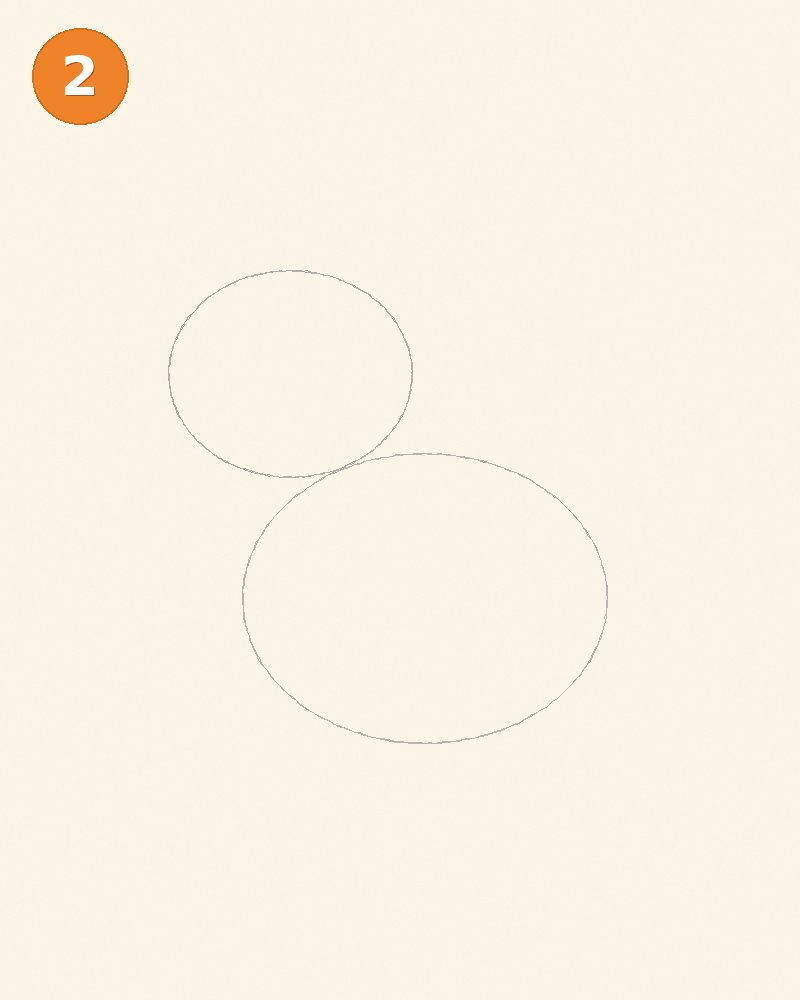
Step 3: Set the two rounded ears
Add two small ears to the top sides of the head guide. The far ear on the left is a little narrower; the near ear on the right has a fuller rounded rim. Curve each ear gently into its base, avoiding sharp triangular cat ears. Suggest an inner fold with a second light curve, not a solid dark patch. Check that the complete ear tips fit within your page. Once their positions look right, leave them unchanged as you build the face and neck.
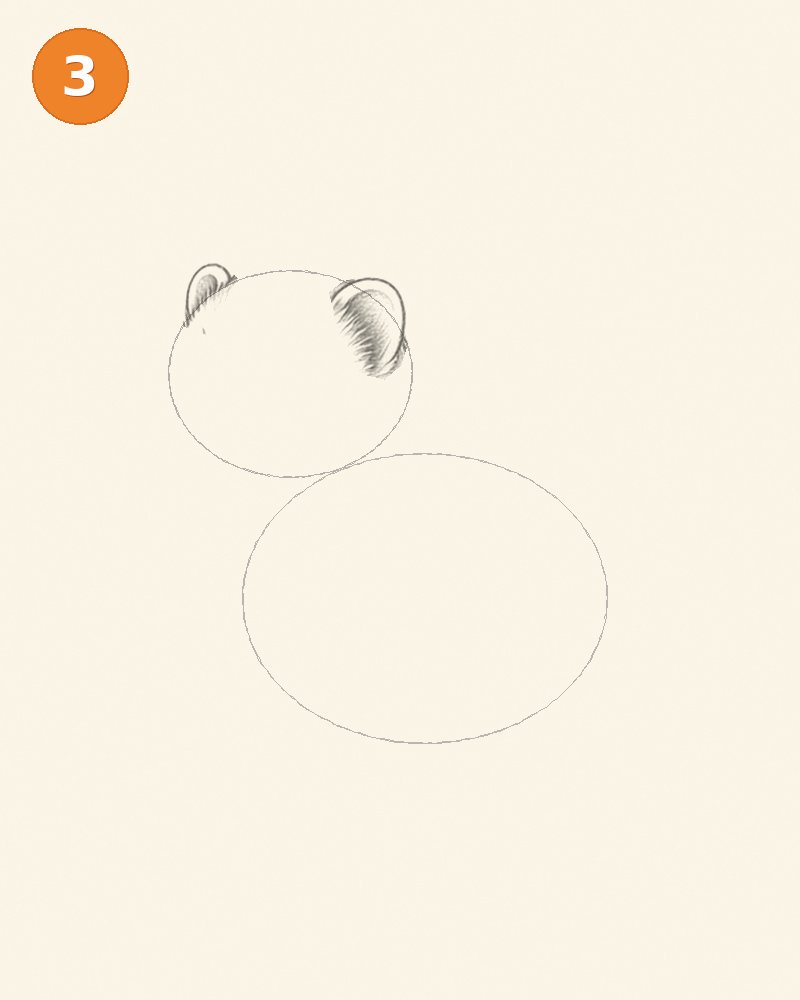
Step 4: Shape the head and short muzzle
Begin replacing parts of the head circle with the real cheek and forehead contour. Add a small muzzle guide toward the lower left of the face, showing the direction the ferret is looking. Use a softly rounded muzzle rather than a long pointed snout. Let the cheek connect naturally to the neck area; do not create a straight rectangular edge where the head ends. Some guide lines will still cross the face at this point. Keep them pale instead of trying to erase everything immediately.
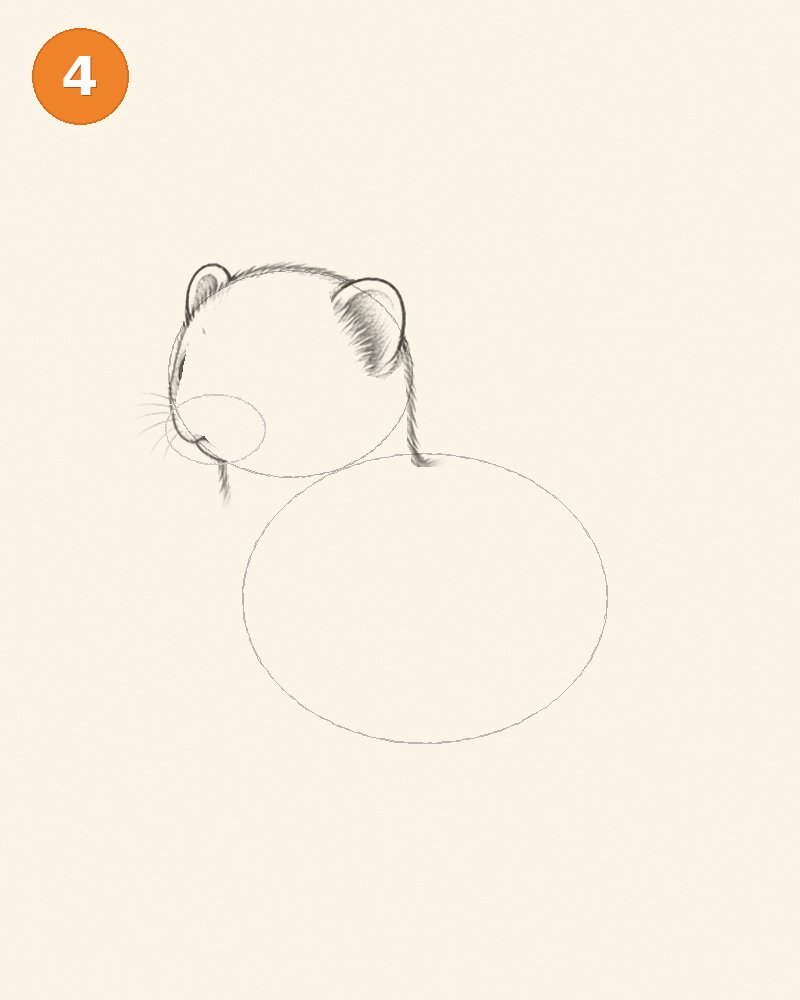
Step 5: Draw the shiny eyes, nose and smile
Place the larger near eye on the right side of the visible face and the smaller far eye closer to the left contour. Leave a tiny clean highlight inside each dark pupil. Put the little rounded nose at the end of the muzzle and add a restrained curved mouth beneath it. Darken these features gradually, checking their relationship to the ears before pressing harder. The expression should look curious and gentle. Avoid outlining the whole face with the same heavy pressure used for the pupils.
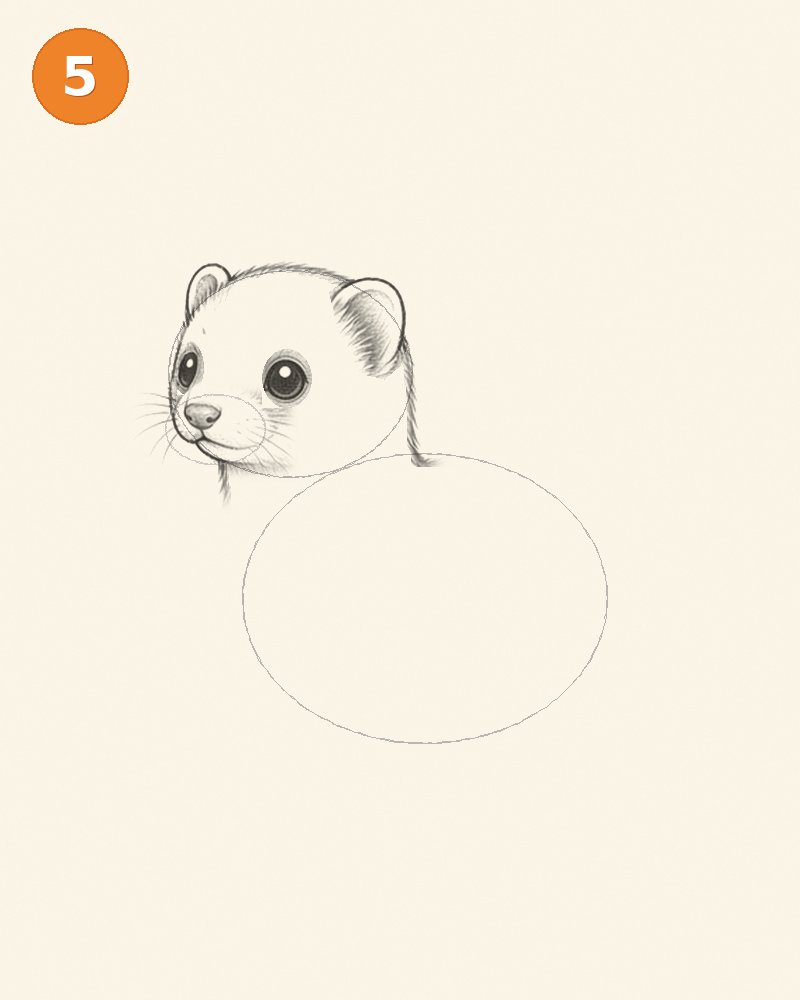
Step 6: Connect the long chest and front paws
Extend the neck into the upright chest, then bring two short front legs down toward the baseline. Their paws should look supported by the ground, not like separate floating shapes. The nearer leg can be slightly wider, while the farther leg is partly hidden. Suggest a few toe divisions with short curved marks. Notice the continuous connection from the cheek through the neck and chest to the paws. Keep the large body guide in place behind this newly defined front section; the seated back will follow next.
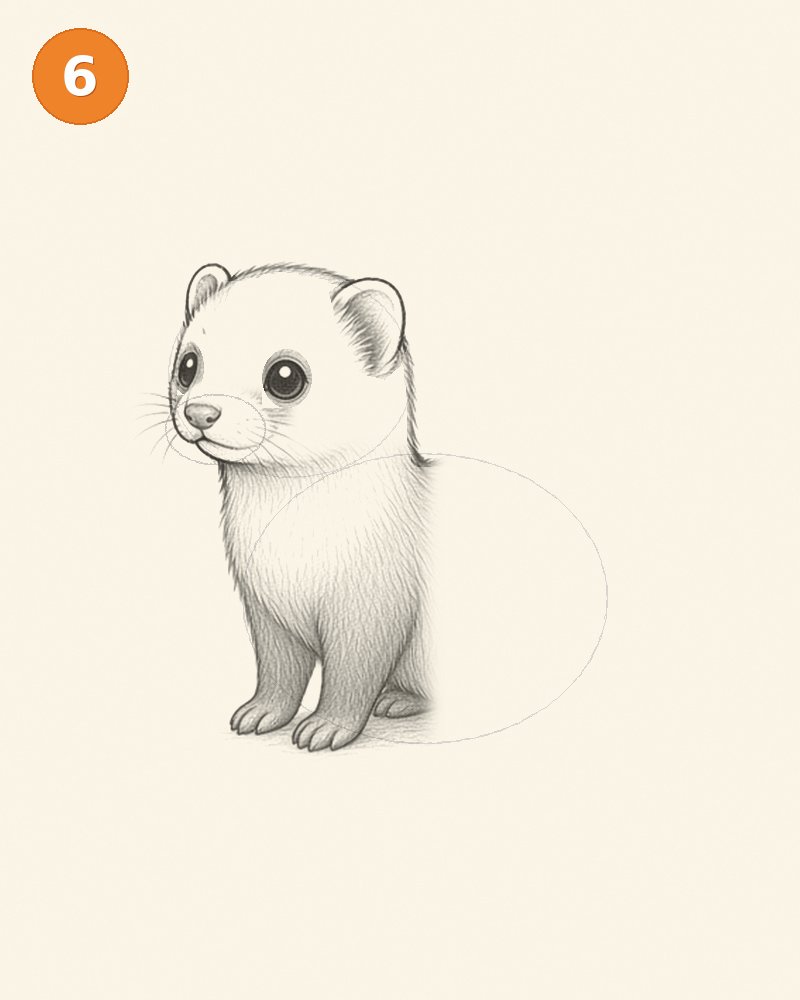
Step 7: Complete the seated body and furry tail
Follow the body oval to establish the rounded back, then tuck a hind foot beneath the haunch. Add the thick furry tail along the lower right, curling its tip forward without making a closed ring. Check that the tail grows from the rear of the body rather than from a front paw. This stage completes the whole silhouette while preserving the earlier face and front legs. Use a few small fur breaks along the outline instead of a perfectly mechanical border. The feet and tail should all fit comfortably on the paper.
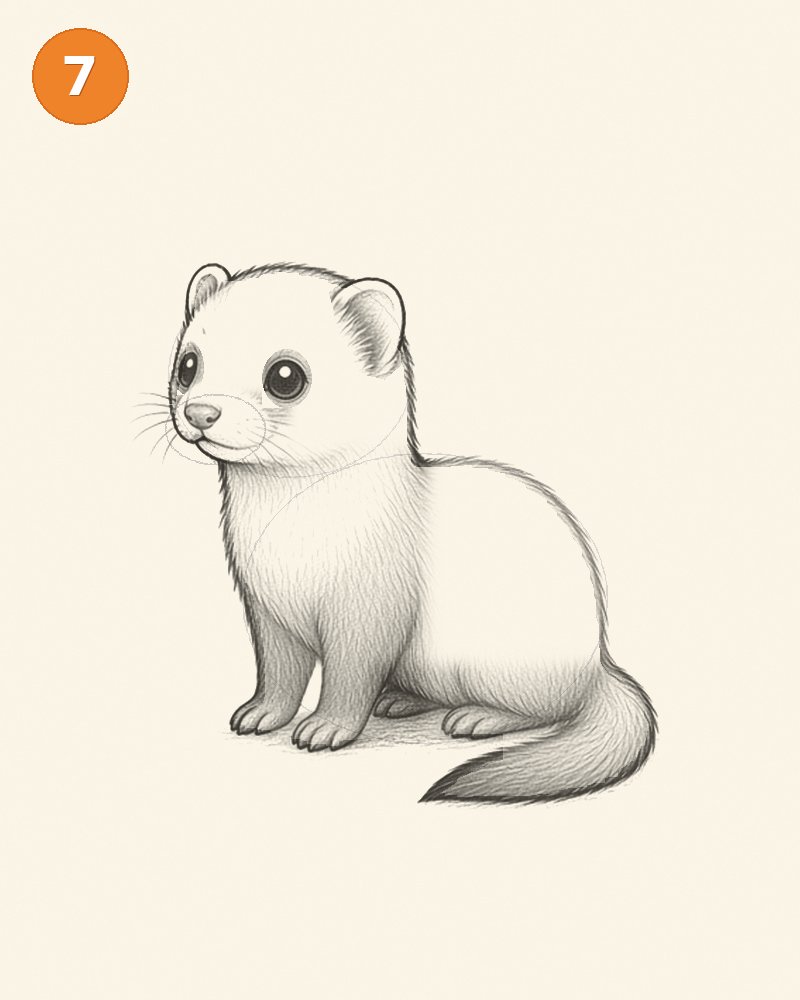
Step 8: Build the fine fur and facial markings
Use short tapered pencil strokes to indicate the soft coat. Around the face, strokes radiate gently away from the muzzle; along the neck they run downward; on the body they follow its rounded form. Develop a subtle mask around the eyes without losing their highlights. Add delicate whiskers and small fur transitions where the legs overlap the belly. The faint head and body guides are still visible underneath parts of the drawing, so avoid treating them as fur. Texture should support the forms rather than cover them with random scratches.
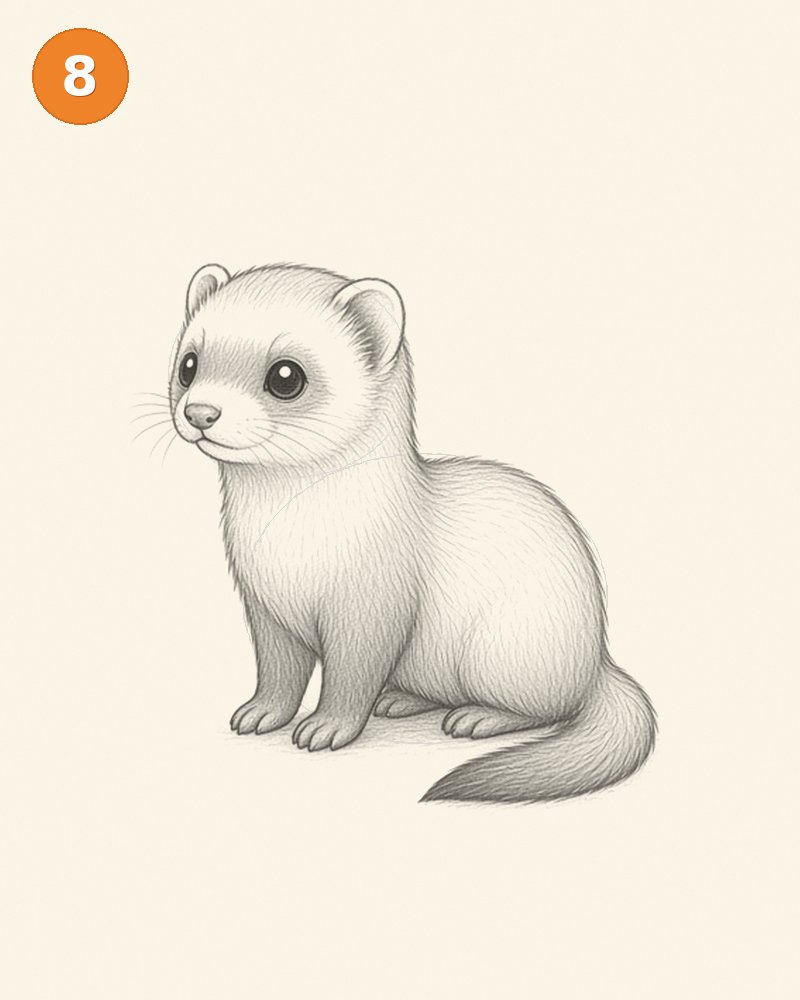
Step 9: Lift the remaining construction guides
Use a kneaded eraser or the clean corner of a soft eraser to lift the remaining ovals. Dab rather than scrub, especially near the eyes and ear rims. Redraw only the true contours that were accidentally softened. You should now have the same complete ferret, in exactly the same pose, with the planning shapes removed. Look around the chest, cheek and tail for unwanted guide arcs. Retain the fine fur and facial details from the previous stage; this is a cleanup pass, not a new drawing or a change of proportions.
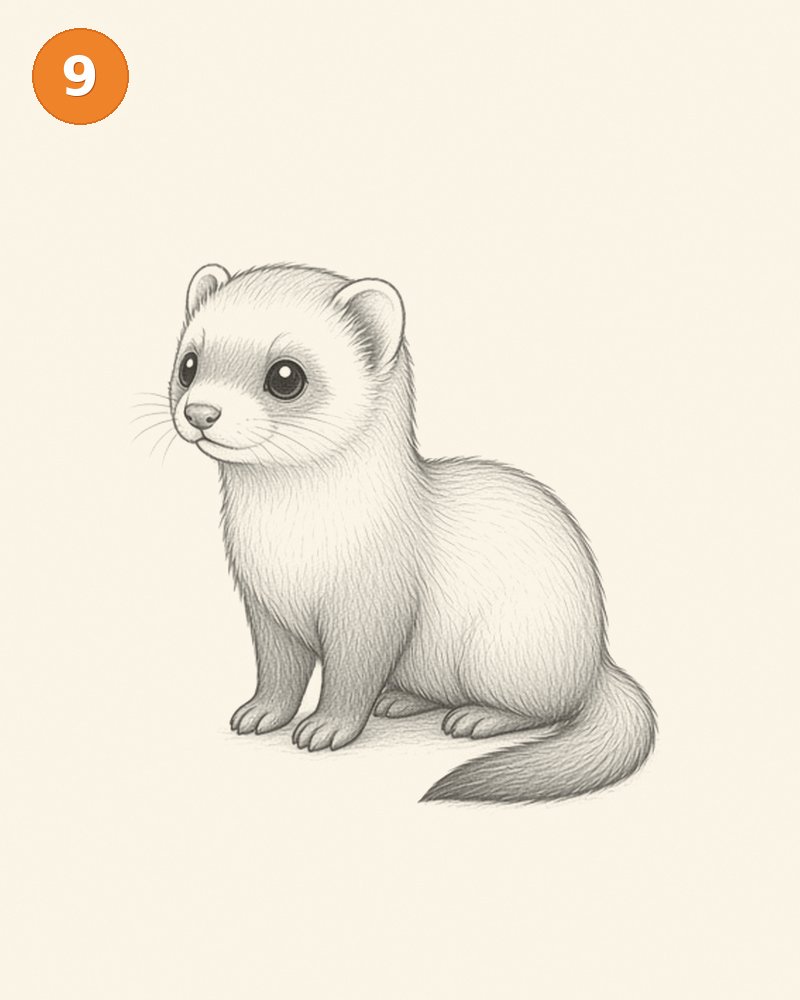
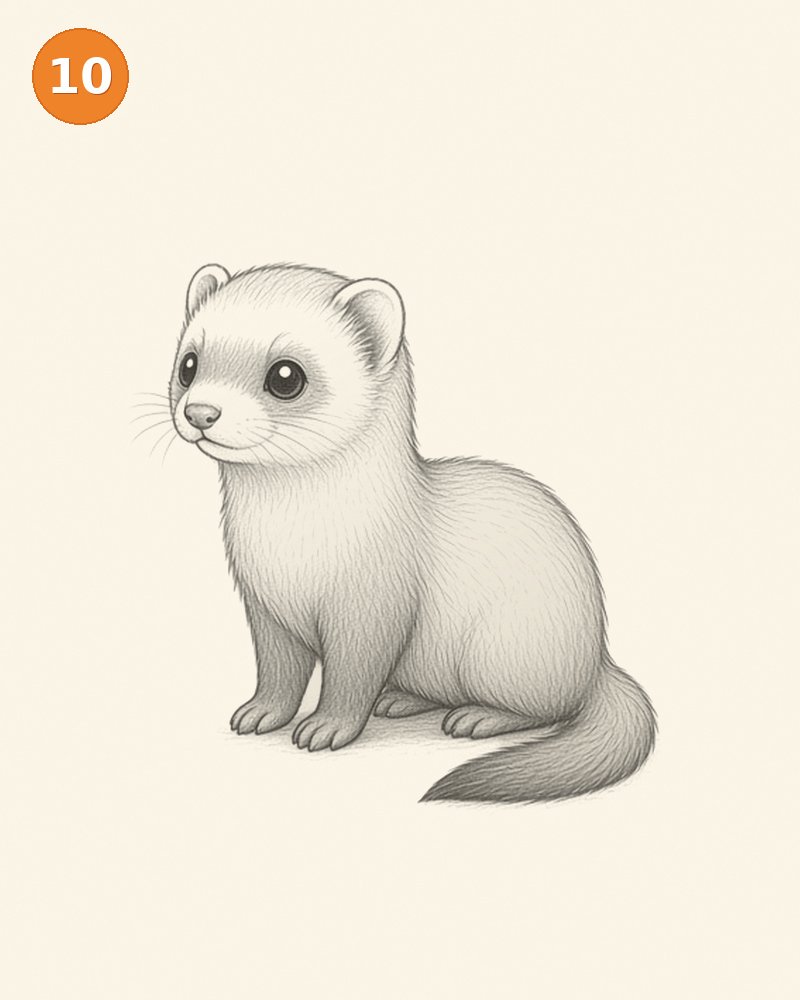
Step 10: Deepen the soft graphite shadows
Choose light coming from above and to the left. Add gentle shading beneath the chin, along the lower chest, behind the front legs and near the base of the tail. Follow the fur direction while layering graphite; broad dark patches can make the coat look muddy. Keep the forehead, muzzle and upper chest relatively light. The shadow changes should be subtle enough that the paper still looks warm and the animal stays soft. A small darker area where a paw meets the ground helps the seated pose feel stable.
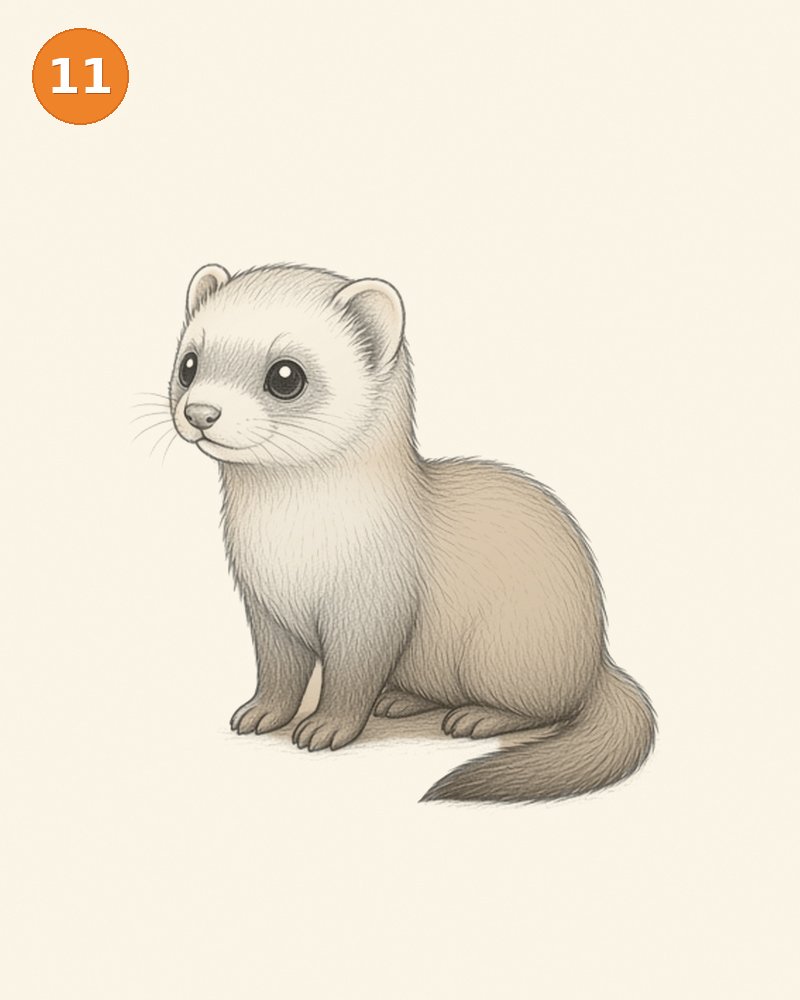
Step 11: Lay down a warm colored-pencil base
With very light pressure, add a warm tan or sable-brown base to the back, legs and tail. Leave the muzzle, cheeks and much of the chest cream. Color in thin layers so the underlying graphite texture remains visible; the aim is not to fill the animal with a flat opaque block. Work around the dark eyes and their white highlights. Let the pencil strokes follow the same directions as the graphite fur. If you want a lighter coat, simply use fewer layers rather than erasing the entire shaded drawing.
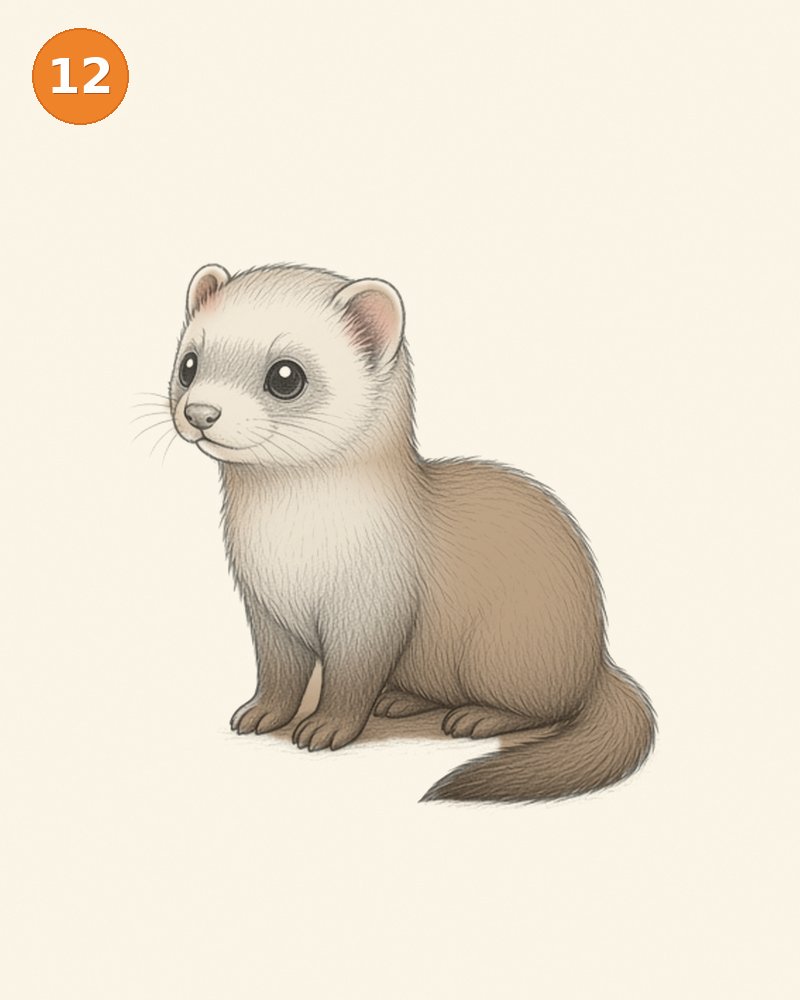
Step 12: Finish the sable coat and pink ears
Deepen the brown coat selectively on the back, lower legs and tail, keeping the pale face and chest distinct. Add a restrained touch of pink inside the ears and soften its edges with cream pencil. Check the nose, tiny smile and eye highlights one last time. The finished animal should have exactly the same silhouette as the graphite version, not larger ears or a newly positioned tail. Stop while the fur still feels light and airy. A few well-placed color accents are more effective than polishing every strand until the texture disappears.
Common ferret drawing mistakes and how to fix them
A common mistake is making the neck too short, which turns this seated ferret into a generic round rodent. Compare the height of the chest with the head before you add fur. Another is giving it sharp ears or a bare rope-like tail. Keep the ears rounded and the tail visibly furry. If the paws float, reconnect them through the front legs instead of drawing a dark ground line to hide the problem. Avoid placing both eyes equally far from the face edge in a turned head. Finally, do not darken the facial mask so much that it swallows the pupil highlights or erases the pale muzzle.
Colored-pencil ideas
For the featured version, combine warm sable brown with cream and a small amount of muted pink. A chocolate version can use deeper brown on the back while keeping the same light face and chest. A pale cream variation needs softer graphite boundaries rather than an entirely white empty animal. You can also invent a gentle pastel coat for an imaginative drawing; label it as a fantasy color choice rather than a natural fur pattern. Whichever palette you choose, keep one consistent light direction and preserve the dark eyes as the strongest focal point.
Try a cute kawaii variation
To make a kawaii variation, enlarge the near eye a little, round the cheeks and soften the mouth into a tiny smile. Keep the long neck and furry tail recognizable so the animal still reads as a ferret. Small rosy cheek accents can be added lightly on top of the pale muzzle. Try the changes on a separate sketch rather than moving features halfway through this sequence. A rounded body can be charming without becoming a perfect circle. The most successful cute variation simplifies anatomy but retains the few features that identify the species.
A calm way to practice
Before adding each new feature, look at the whole silhouette from an arm’s length away. Compare the size of the head with the body and check the empty space around the animal. If a new line seems wrong, lighten that small area before continuing instead of hiding it beneath heavier shading. A useful practice routine is to repeat only the first two construction stages on a scrap page several times, then choose the clearest version for details. Keep your wrist relaxed and turn the paper when a curve feels awkward. Progress comes from understanding the shapes, not from matching every pencil grain in an example. Your drawing can be recognizably your own while following the same anatomical plan.
Frequently asked questions
Is a ferret a rodent?
No. Ferrets are mustelids. In this lesson, the longer neck, flexible trunk, short legs and furry tail help distinguish the drawing from small pet rodents.
How can I draw the facial mask without making the face muddy?
Begin with faint short strokes around the eyes and stop before they join into one solid patch. Preserve the pale muzzle and both clean eye highlights.
Do I need to draw every fur strand?
No. Show a few directional strokes around the cheeks, chest and tail, then let soft shading describe the rest. Too many equally dark lines flatten the coat.
Can I finish the lesson in graphite only?
Yes. Step ten is a complete pencil version. You can omit the color stages while keeping the cleaned guides, dark facial features and gentle lower-body shadows.
What should I fix first if the drawing looks wrong?
Check the head-to-body placement and neck length before changing details. Correcting a guide shape is usually more useful than adding extra whiskers or stronger color.
More drawing and coloring ideas
Keep practicing with these related Capybara Mag resources. Follow a different animal tutorial to compare shapes, or take a relaxed coloring break between drawing sessions.